Wednesday, May 7, 2014

The Patriot

Well, I worked diligently on the yellow X1/9 racecar, and thought it was pretty well sorted for the race last Sunday. The last thing to do after completely reworking the brakes and cooling system was to change the oil and take it for a spin. The engine sounded like it was coming apart, slinging oil and only managing about 30 mph. The seller must have had really heavy weight oil in the thing to keep it quiet for the sale a year ago. I was pretty heartbroken.
Then my buddy Bob found this little gem locally. This 1979 X1/9 was prepped back in 2002 to try for the land speed record at Bonneville. It didn't set the record, but the engine was really built, and it has an award winning paintjob to boot. So I'm back in the game, hoping to race for the first time in late August. BTW, it's called "The Patriot"
And yes, the various Stag detail projects are still on hold for race season...


Sunday, April 13, 2014

Stag at the races

This weekend I participated in the SWMS high performance driving school. Since my Fiat X1/9 race car was not yet ready, I took the Stag out the first day and the Bugeye the second. I was really impressed at how well the Stag did! I drove it down from the East mountains on a very chilly morning and these pictures are at tech waiting for someone to show up.


Thursday, February 13, 2014

New clutch master and strut tops

I knew I would be removing the front struts once again to replace the strut top bearings when I put the car away for the winter. This went smoothly ( I've R&R'd the struts quite a few times now), except for one of the shock mounting nuts that was a booger to get loose. Put everything back on the car and then discovered the clutch reservoir was bone dry. I had problems with that master cylinder since I put it on, so I decided to just mount a new one. I had forgotten what fun it is to get the thing disconnected and reconnected from the pedal. Maybe everything was that hard before getting a lift and now I'm just spoiled? My neck still hurts! Got it all set and then came the fun of bleeding the system. Could not get a firm pedal. Remembered to look back at a previous post when Bob declared it to be "self bleeding" and therefore let it sit overnight. Tried the next morning and noticed some improvement.  Pumped the pedal and saw a bubble appear in the reservoir. Did this some more and "wallah" all done. Seems like you just can't get the bubbles nearest to the reservoir to go downhill to the slave and out by normal means, so they have to work their way out the top at the master. Anyway, I went for drive to check the alignment and steering and it's perfect! Whew.
The other project I started but didn't finish because of the race car was the Stag's soft top. It's still in pieces and waiting for some time to work. For now I just needed to move the Stag off of the lift and get the Fiat up there for multiple jobs to be done before race season begins in April.

Thursday, December 5, 2013

Poor Audi

My wife was whacked on the interstate by a Swift semi truck. It was a snowy day and she had slowed down coming over a hill b/c two cars had spun out ahead of her. The truck swung around her in the passing lane and then saw the accident ahead, so he locked up his trailer brakes and jack-knifed, slamming her into the snow bank. Then he left the scene! Luckily the cops investigating the previous accident gave chase and brought the guy back to compare damages. My wife was unhurt, but the damage to the Q5 Hybrid was $26,000.

Monday, November 18, 2013

Stag News Cover


I just got the Fall edition of the Stag News and guess what's on the cover? The picture below is of the original scene, with my wife included. We discovered this old mill turned into a store while pursuing the Moss Motors Challenge this summer. Since the cover photo needed to be square, it lost some of the ambience of the original, but I'm still quite honored! Thanks to editor Chris Hansel and club founder Michael Coffey.

Sunday, October 20, 2013

Happy Birthday Hallee!

We toured the Gallisteo Art Festival in the Stag with daughter Hallee and her new boyfriend John. He thought the car was cool, but she just thought it messed up her hair.

Tuesday, September 3, 2013

A Fine Vintage

My wife again completely surprised me for my birthday and had a lovely dinner planned with lots of friends and family. Of special note, however, was the wine that was poured, which is one of my favorites. Why do I mention it here? See if you can figure it out:
 
You might recall the 2008 movie "Bottle Shock" was loosely about this wine, and yummy it is!

Saturday, August 24, 2013

BAOA Rendezvous

The Albuquerque British Automobile Owners Association had its monthly breakfast and drive today. We met at the Owl Restaurant and then had a guided tour of the National Nuclear Science Museum. We are posing (as usual lately) with the Moss Motors sign, getting some points for a club event. We may look like geeks, but there was actually another participant in the Challenge doing the same thing!

Tuesday, August 13, 2013

Moss Motors Challenge

One of the on-going fun things we've been doing with the Stag and Bugeye is the 2013 Moss Motors Challenge http://www.mossmotoring.com/challenge/ Basically, you collect points for each letter of the alphabet for each town or county or national forest, etc. you visit. You have to take a picture of yourself, your car, and the Moss sign to get credit. We've put about 1500 miles on the Stag in pursuit of points, and it's taken us to some new and lovely parts of New Mexico. On this particular day, we drove around the Enchanted Circle north of Taos, being chased by rainstorms the whole time (still no top). I am including this picture b/c we found this stop to be particularly rewarding. That's a $50 bill in my hand which was just laying there next to the National Forest sign. Even if we don't win a prize in the Challenge, $50 at least paid for our gas on that beautiful drive!

Wednesday, August 7, 2013

Not so fast again!

There is still a shift ocurring in the steering when going to the left lock. The steering will then track left until the rack is run all the way to the right, which then re-centers it. Gary at Chet's is convinced it has to be the strut top mounts, which were not replaced. So, I'll get some new ones (basically a big rubber piece with a metal bushing inside) and re-do the whole thing once more.

Thursday, August 1, 2013

Inner Tie Rod End and Alignment Completely Complete

Since the summer is drawing to a close, and Michelle and I are trying to participate in the Moss Motors Challenge http://www.mossmotoring.com/challenge/ we decided to take the Stag back to Chet's one more time and just let them install the inner tie rod shims (and redo the alignment) instead of waiting for me to get enough time off to do it myself (I'd rather be driving that wrenching). There was also some play in one of the strut rod bushings which was apparently not fully seated. We dropped the car off yesterday at closing time and then I left for Memphis early this morning. Michelle picked the car up this afternoon between rainshowers and reports that it drives great. She did get notified by another driver that the brake lights are not working, though. Sigh.

Monday, July 22, 2013

Parts Received

I just got the parts from Atlantic Enterprises in the mail! No time to work on the car for several weeks, unfortunately.
 

Friday, July 19, 2013

Called Atlantic Enterprises

I phoned the nice folks at Atlantic just now, and explained the situation with the rack. I got a very fast call back from Thomas in their tech department. He talked me through what I needed to do to fix the play. Basically, I'll just unscrew the rod and add some more shims. They will be sending the required parts, including one of two lock plates I'll need. The second lock plate is no longer available, so I have to be careful with the existing one so it can be reused. I also got a follow-up call from Thomas emphasizing that I need to use red (and only red) locktite when reassembling the rod. Then another follow up call confirming my mailing address. Great customer service!

Tuesday, July 16, 2013

Alignment Done (sort-of)

I jumpseated home this morning and picked up the Stag, dropping it off at Chet's in Albuquerque at 8:00. They finally got to see the whole car that the struts belong in! After a couple of hours, I got a call from Gary, the technician who was under my car. He was not happy about the play in the right inner tie rod, saying that the alignment would not hold. I said to go ahead and do what he could. They finished up around 3:00. The rear end took quite a bit of shimming to being it into alignment, but it sure drives nicely now. I'll call Atlantic Enterprises later this week (they rebuilt the rack for me three years ago). The front end camber is way out, but that's just a consequence of lowering the car, and I'll have to research how to correct this.

Sunday, July 7, 2013

(Lowered) Suspension Work is Done

In the two month interim since my last post, I was engaged in fact-finding and negotiations with Rimmers. Additionally, I noticed that Tony Hart had an eBay auction running for a lowering kit (1.25") that included shortened (progressive) springs for the front and shortened springs with a camber adjusting outer bracket for the rear. I emailed him and asked if my shorter shocks would work with his springs, and he said they should be just right, so I purchased them. I never got closure with Rimmers on why they were selling incompatible springs/shocks. I guess I'll just sell the standard springs I received from them on eBay to partially offset the much higher cost of the Tony Hart springs.

I received the springs from Tony and installed them in the front and back over the past several days. It was nice to be able to use my own spring compressor for the fronts at last! I stacked another washer or two inside the front strut tubes under the Gaz inserts, and this will hopefully keep them from moving vertically inside the strut. Also replaced the trailing arm bushings in the rear with poly when I put in the outer camber correction brackets. I kept the same shims that were OEM, and we'll see what the alignment shop has to say about that. Chickened out on replacing the rubber differential and rear subframe mounts with poly at this time as they didn't look bad, and that would have been a major project (I want to drive the car, dammit). The car is 1.25" lower now and looks great, although you really have to step "up" when getting out of the cockpit. Corners much better than a standard Stag. My only concern is that the front camber might be a little much for street use and cause premature inner tire wear. A trip to the alignment shop is on the agenda for next week.

Lowered and blurry (from the high rate of speed) Stag
The most difficult little job I did while the car was on the lift was to replace the speedo cable. What a pain! I duck-taped the new cable to the old one and pulled it through, but the old cable was much longer and not routed correctly. The new one from LD Parts (correct length) was much too short for any haphazard routing, so I ended up getting quite greasy and scratched up while moving it up over the tranny. Anyway, the new cable took care of the speedo twitch that had been a source of irritation.


New rear springs (red) and camber adjusting outer TA brackets

Take a look at that old rear shock! SHOCKING!

New bracket on left, old on right

I managed to do the install without disconnecting the brake lines. Note prop at left.


New poly bushes, and new outer camber bracket (on left)

Bushing removal rig

Sunday, May 5, 2013

Trouble in MacPherson Strut Land

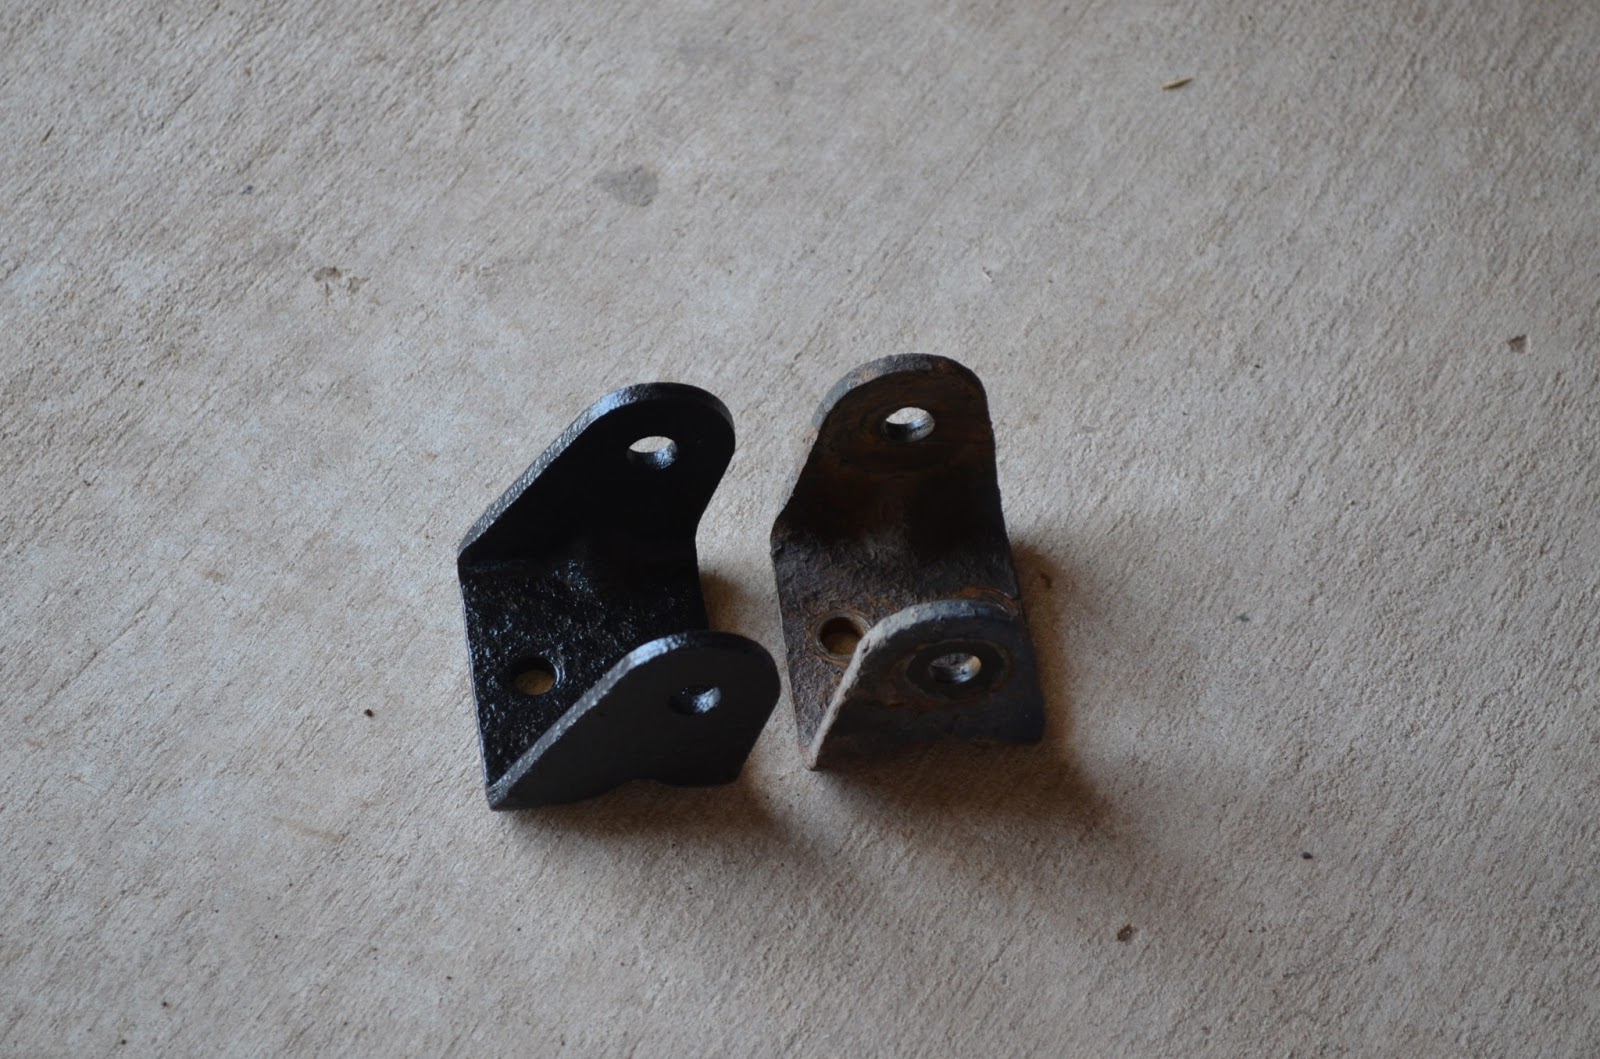
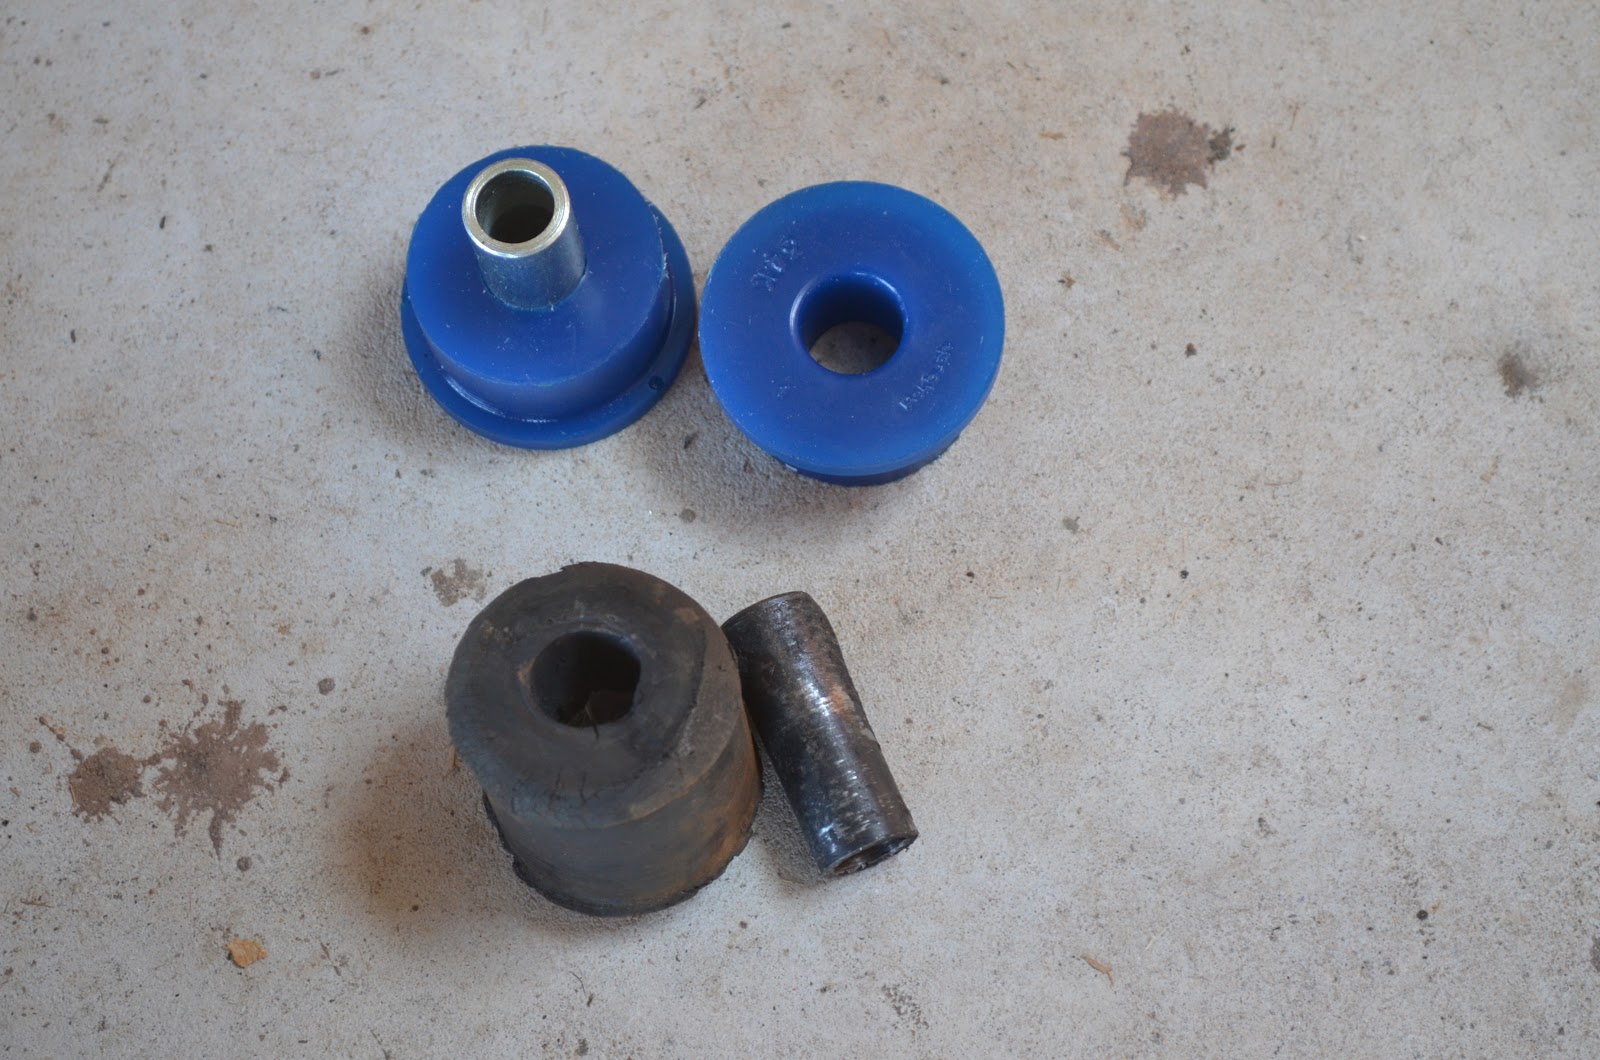
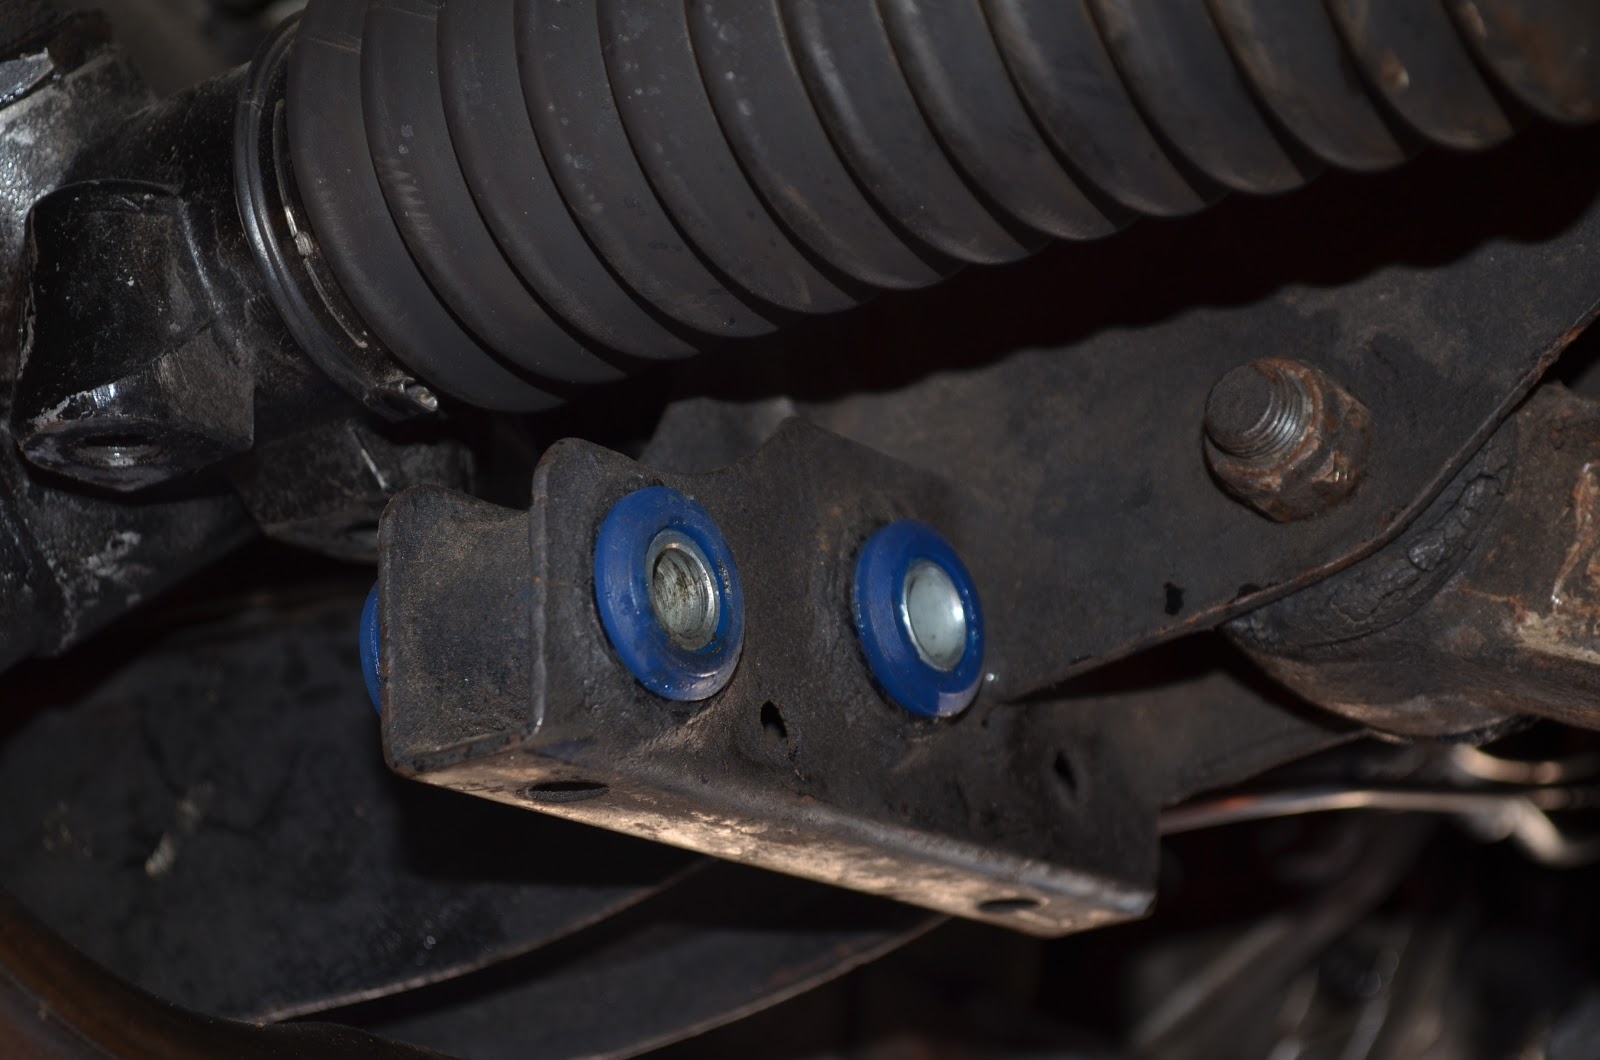
...and I was on such a roll! The front end only needed the new springs and shocks to be complete, but it couldn't just all come together easily. Noooo. Actually, getting the old struts off the car is simple. Just don't lose the thin washer for the smaller bolt that mounts below the big bolt with the large spacer (see pictures). If this is the first time your shocks have been off and you still have the OEM oil filled ones, be prepared to demonstrate patience knocking the retaining ring around to get it off, and then get ready for some foul smelling oil to drip out. After I cleaned everything off and applied some rust inhibitor, I began to build up the new assembly with new springs and Gaz shocks from Rimmers. The springs are exactly the same size as the original ones, but the Gaz inserts are over an inch shorter than the OEM shocks at their full extension. I tried several different types of spring compressors, but could not get the springs small enough to mount the nut that holds the whole thing together. Experts at Bob's garage agreed that the shocks appeared to be too short for the springs. Additionally, the inserts did not fit snugly inside the struts, and even with the new retainer screwed down to the limit of the threads, they could slide up and down about an eighth of an inch. I emailed Rimmers, and they verified the part numbers were correct. They blamed British Leyland's lack of quality control for the inserts not fitting right and suggested a washer or two in the bottom of the strut to alleviate this problem. I finally took the whole collection of parts to Chets Wheel Alignment in Albuquerque and made it their problem. Although they got the springs mounted on the struts, They agreed that it doesn't look right. I put them on the car anyway, and, although it drives ok, any bump or pothole causes a clank from the front end. Help!!!

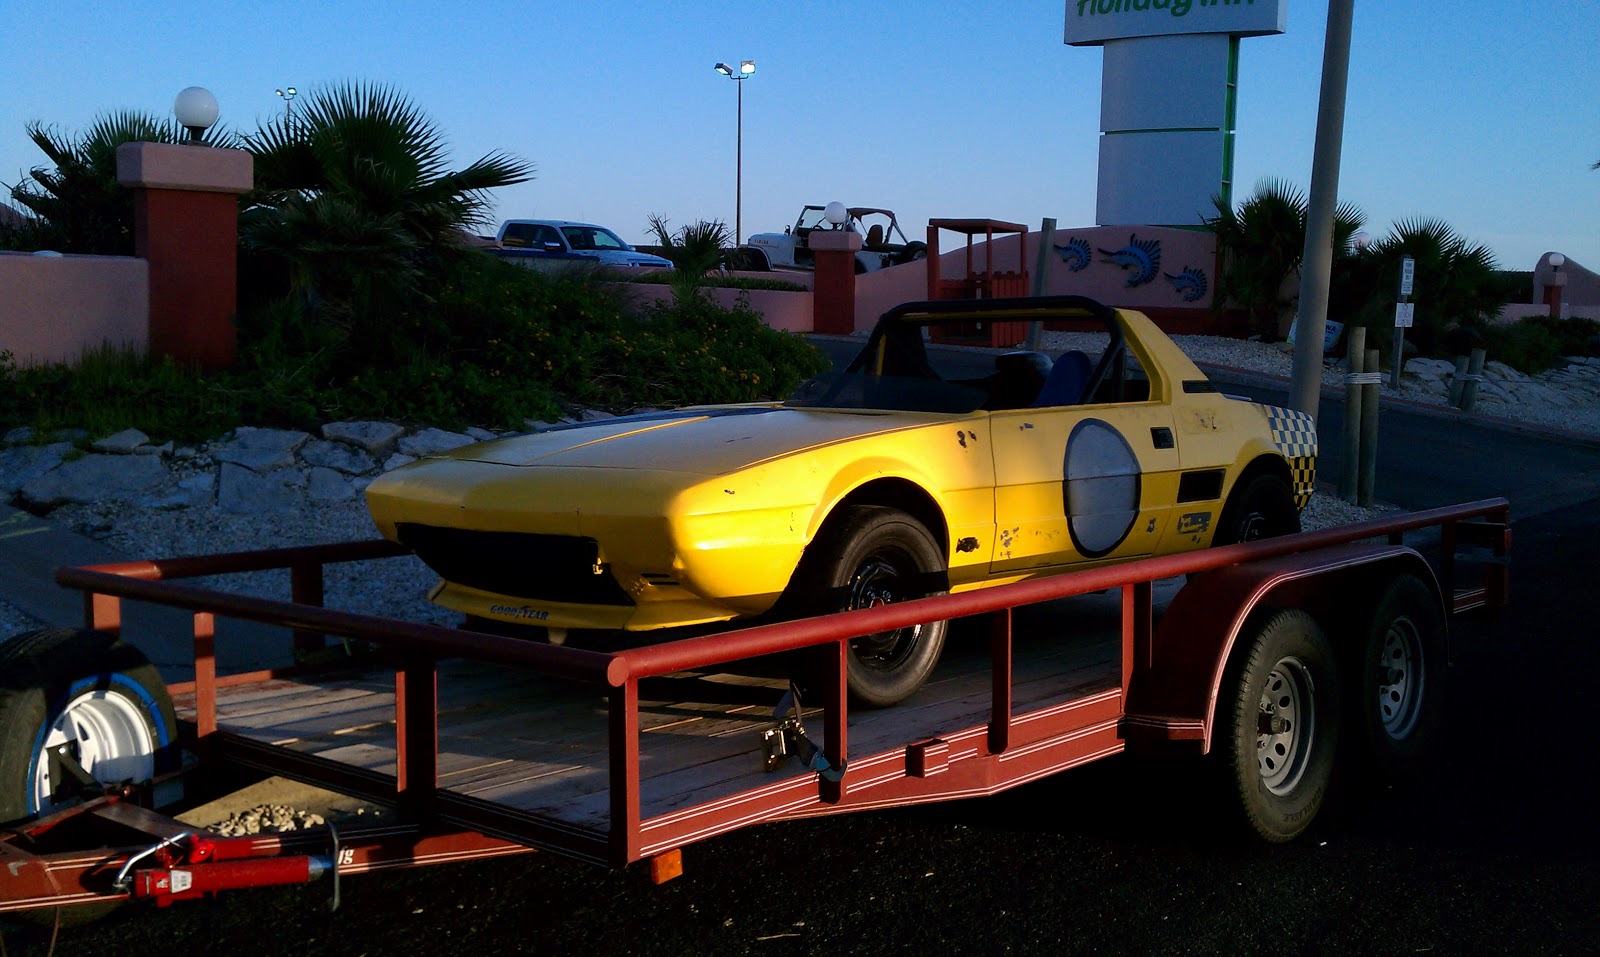
PS: Actually, the weekend wasn't all bad...my wife and I took the car out on a proving run down Historic Route 66. The engine purred and stayed cool, and as long as I did not hit any bumps, she actually drove well (I still need to install the new bushings/shocks/springs in the rear). At the start of our little drive, a rather beat up Japanese econo-box of yesteryear kept tailgaiting. We finally arrived at a stop light together and the occupant, fresh from a Walmart run from the looks of the shopping bags in the back seat, asked me, "Excuse me sir, is that a foreign car?" "Why, yes ma'am it is...they don't make them like this here," was my amused response. She nodded sagely and drove away waving. We laughed for quite awhile. Then, when we stopped by the mailbox on the way home, a gentleman pulled up next to us and said he hadn't seen a Stag for years, and so we met another neighbor, Jim, who has a TR-4, TR-4A and TR-6. Cue "It's a small world after all..."

Getting the old retainer off requires some finesse

Old over new, new is MUCH shorter

happened to have the right size wrench-thingy to instal the new retainers

pieces parts


fully assembled, with about 2/3 of total spring available

in the car

Don't lose the little spacer washer (top left)


little spacer washer on lower bolt

Monday, April 29, 2013

Front Bushes Done

Today I finished up the front end bushing replacement with the wishbone, radius rod, and anti-roll bar. The big bushing in the radius rod required another threaded rod setup to retract it (1 1/4" and 1 7/8" sockets work well). The old bushings were pretty stubborn because they were one piece, whereas the new ones are two piece...much easier to deal with. The nut on the backside of the radius rod is always a pain, especially when the car is on my kind of lift with the wheels hanging down. This produces an angle on the nut that makes it almost impossible to get a socket on. I've found it's easier to go ahead and disconnect it from the wishbone and then be free to move the outer end to a higher position, giving better purchase on the nut. The problem then becomes keeping the whole thing from turning as you honk on the nut. I solved this using a monkey wrench (see pictures).

It finally occurred to me that I should remove the lower fan shroud to more easily access the nuts on top of the u-bolts for the anti-roll bar after I had already gotten one of them off. Definitely worth the time to do this, although there aren't alot of Stags left with this shroud anyway. The new poly bushes (yellow) took some persuading to get over the ends of the bar, but a little patience, a couple of screwdrivers and some WD-40 finally won the day.They do not fit under the original metal clamp brackets, but I think they were mainly to give the OEM rubber bushes a little more lateral strength which should not be needed with the poly. I left them off.


Old (one piece) and new (two piece) radius rod bushings


Everything in blue is new!

Threaded rod extractor

OUCH!

Old metal clamp bracket doesn't fit (right)

Sunday, April 28, 2013

Steering Rack Bushings

Today, I finally started the project to replace all the rubber in the Stag's suspension with new polyurethane. I will also be relacing the shocks and springs, and fitting new boots for the rear axles. After some internet research, I stumbled upon the "threaded rod" method for removing the bushings in the steering rack mount. It worked very well! You use a threaded rod with a nut at each end, and two sockets, one oversized to receive the old bushing that you push out, and one the same size as the bushing to do the pushing. I found that a 1" and a 5/8" socket seemed to fit best. The pictures tell the story best...

Threaded rod rig

Out with the old and...


...in with the new


Thursday, April 18, 2013

New battery and new distractions

Picking the Fiat up in Corpus Christi
Back home

Forlorn Stag is in the back corner
Besides cold weather and completing the Bugeye wiring overhaul, another distraction from the Stag project has entered my life. My first car was a '74 Fiat X 1/9, and I put about 120,000 miles on it until trading it to my Dad for his Stag (the brown one in my earliest posts). Now that I've decided to get into racing at our local road course, it seemed only natural to go back to my roots and find a Fiat. We picked this one up in Corpus Christi last week, so most time, energy and money have been going into getting it up to snuff.

However, I did get a new battery installed in the Stag. When I picked up the new battery, I went with a taller but not as wide one that has an integral strap. Much easier (see previous post), and much less likely to produce a short between the positive post and the body of the car.

Some day I'll get to the suspension overhaul...

Power steering pump out of the way
 
Everything back in place


Web Site Counters
Radeon Video Cards